The Flare team has developed a bespoke Flare app for Ledger hardware wallets which is now available in the Ledger App Catalog.
Users can now use their Ledger wallets directly with the Flare Portal for staking, claiming rewards, wrapping tokens, voting on proposals, and delegating to the Flare Time Series Oracle (FTSO). Flare and Ledger are proud to offer users a more streamlined experience when interacting with both the Flare and Songbird networks.
What’s new?
Consolidating multiple functionalities into one app simplifies network participation for Ledger wallet users:
- For stakers: With this launch, Flare users will no longer need the Avalanche Ledger app to interact with Flare’s P-Chain and stake their FLR tokens.
- For delegators, governance and claiming rewards: Ledger owners will use the new Flare app rather than the Ethereum app to interact with smart contracts on Flare’s C-chain.
To get started, simply install the Flare app on your Ledger wallet. Please note, the app is not yet integrated with Ledger Live, so this update does not mean your WFLR balance will be visible on the Ledger dashboard. All your balances are clearly displayed when you connect to the Flare Portal.
Installing the Flare app on Ledger
1) Install the Flare Network App
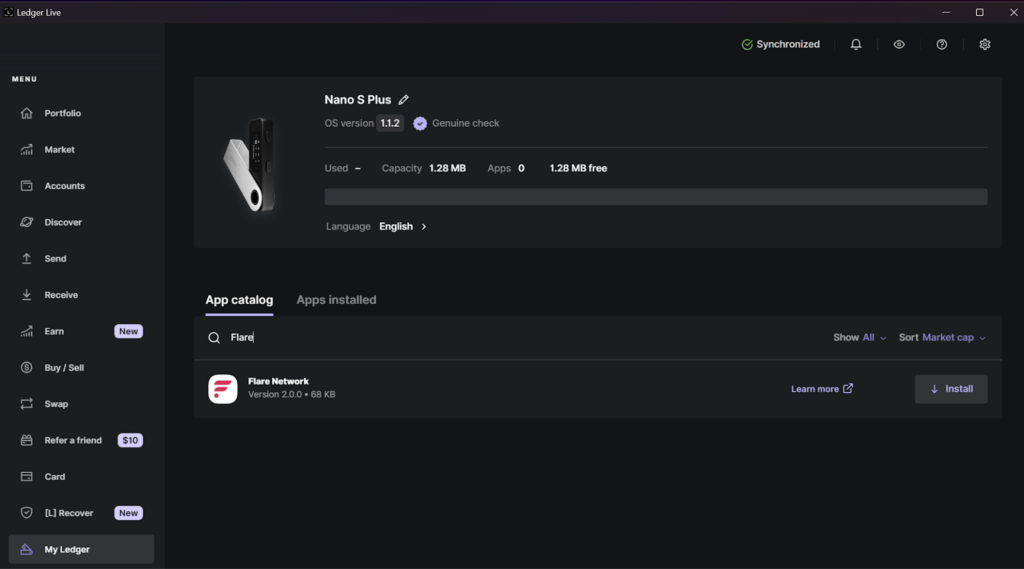
- Open Ledger Live.
- Go to “My Ledger” and connect your Ledger device.
- Search for “Flare” in the “App Catalog.”
(If the Flare app does not appear on search, “Update firmware,” restart the Ledger Live client, then search again.) - Once Ledger Live is updated and relaunched, search again and click “Install” on the Flare Network app.
2) Enable Expert Mode
- On your Ledger device, open the Flare Network app.
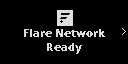
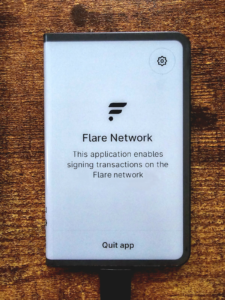
- Once you see “Flare Network Ready,” click through (right button press) until you see the “Expert mode:” option.
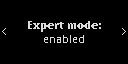
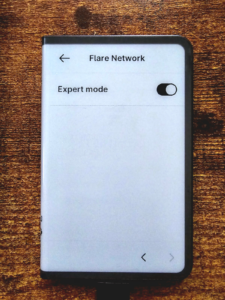
- If you see “Expert mode: disabled,” press both buttons on your device simultaneously to enable “Expert mode.” Note that Expert mode is similar to “blind signing” support for the Ethereum app, in that permissions are given that are needed to enable certain tasks such as staking or delegating FLR.
3) Connect to Flare Portal
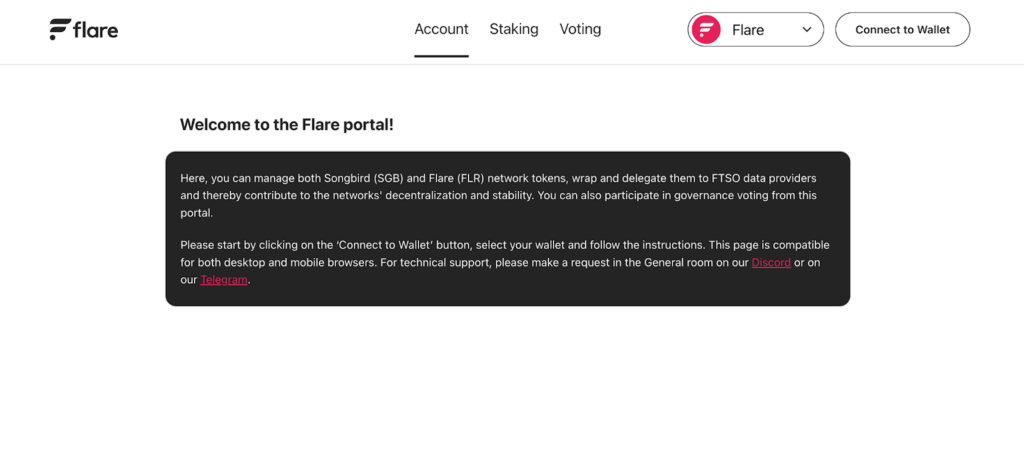
- Go to the Flare Portal website: https://portal.flare.network/
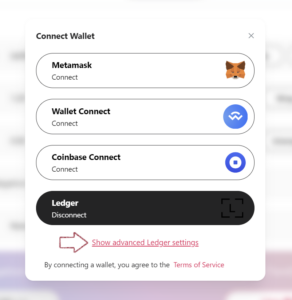
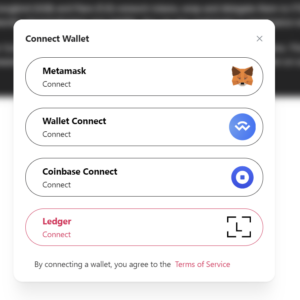
- Click “Connect to Wallet” in the top right corner of the web page.
- Select the Ledger option to connect. Make sure that your Ledger device is unlocked and opened to the Flare app during this step.
- When prompted by the browser to “connect to a HID device,” select the “Connect” button.

- If you have multiple addresses, select “Connect” again and then “Show advanced Ledger settings” to choose other addresses using Ledger Live or BIP44 derivation chains.